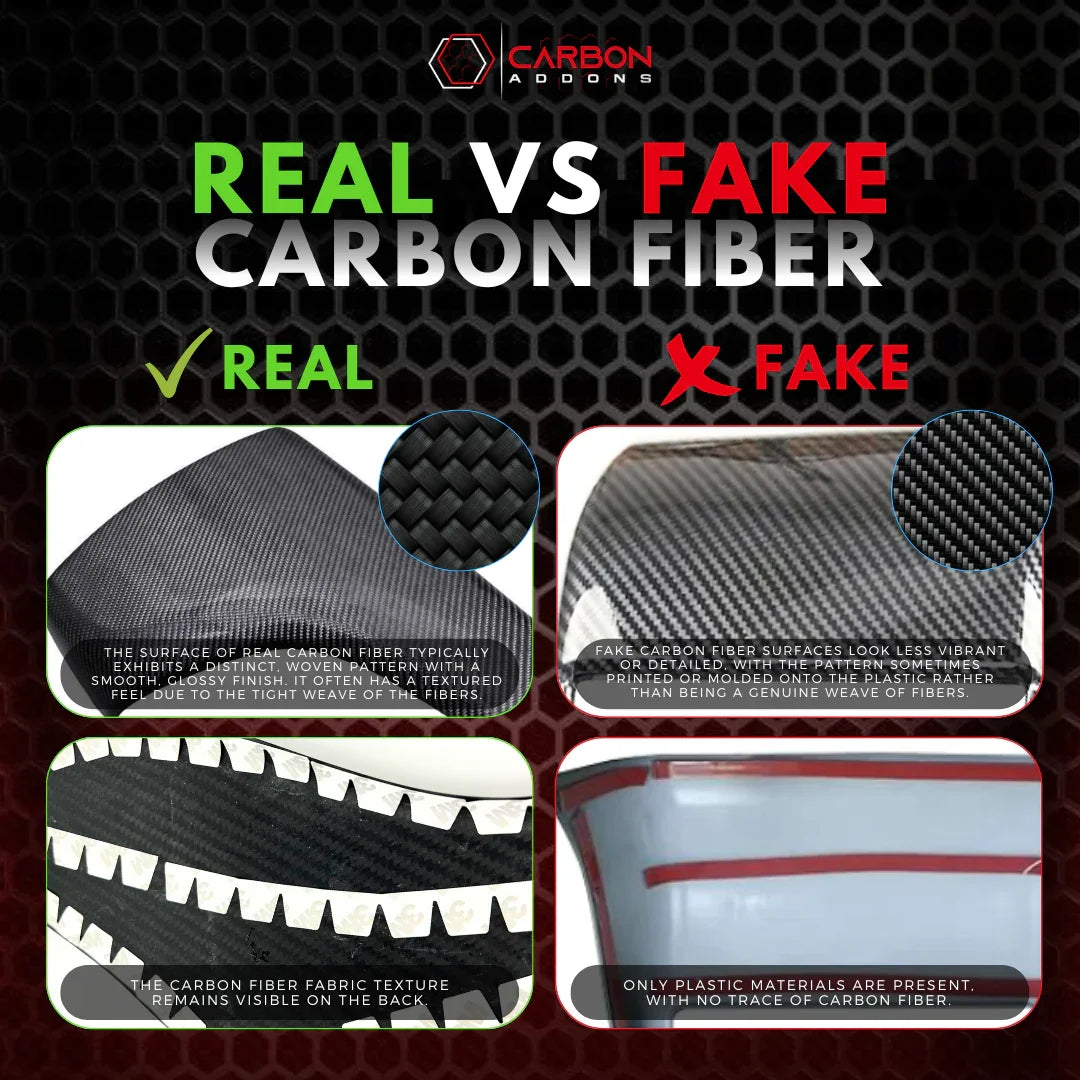
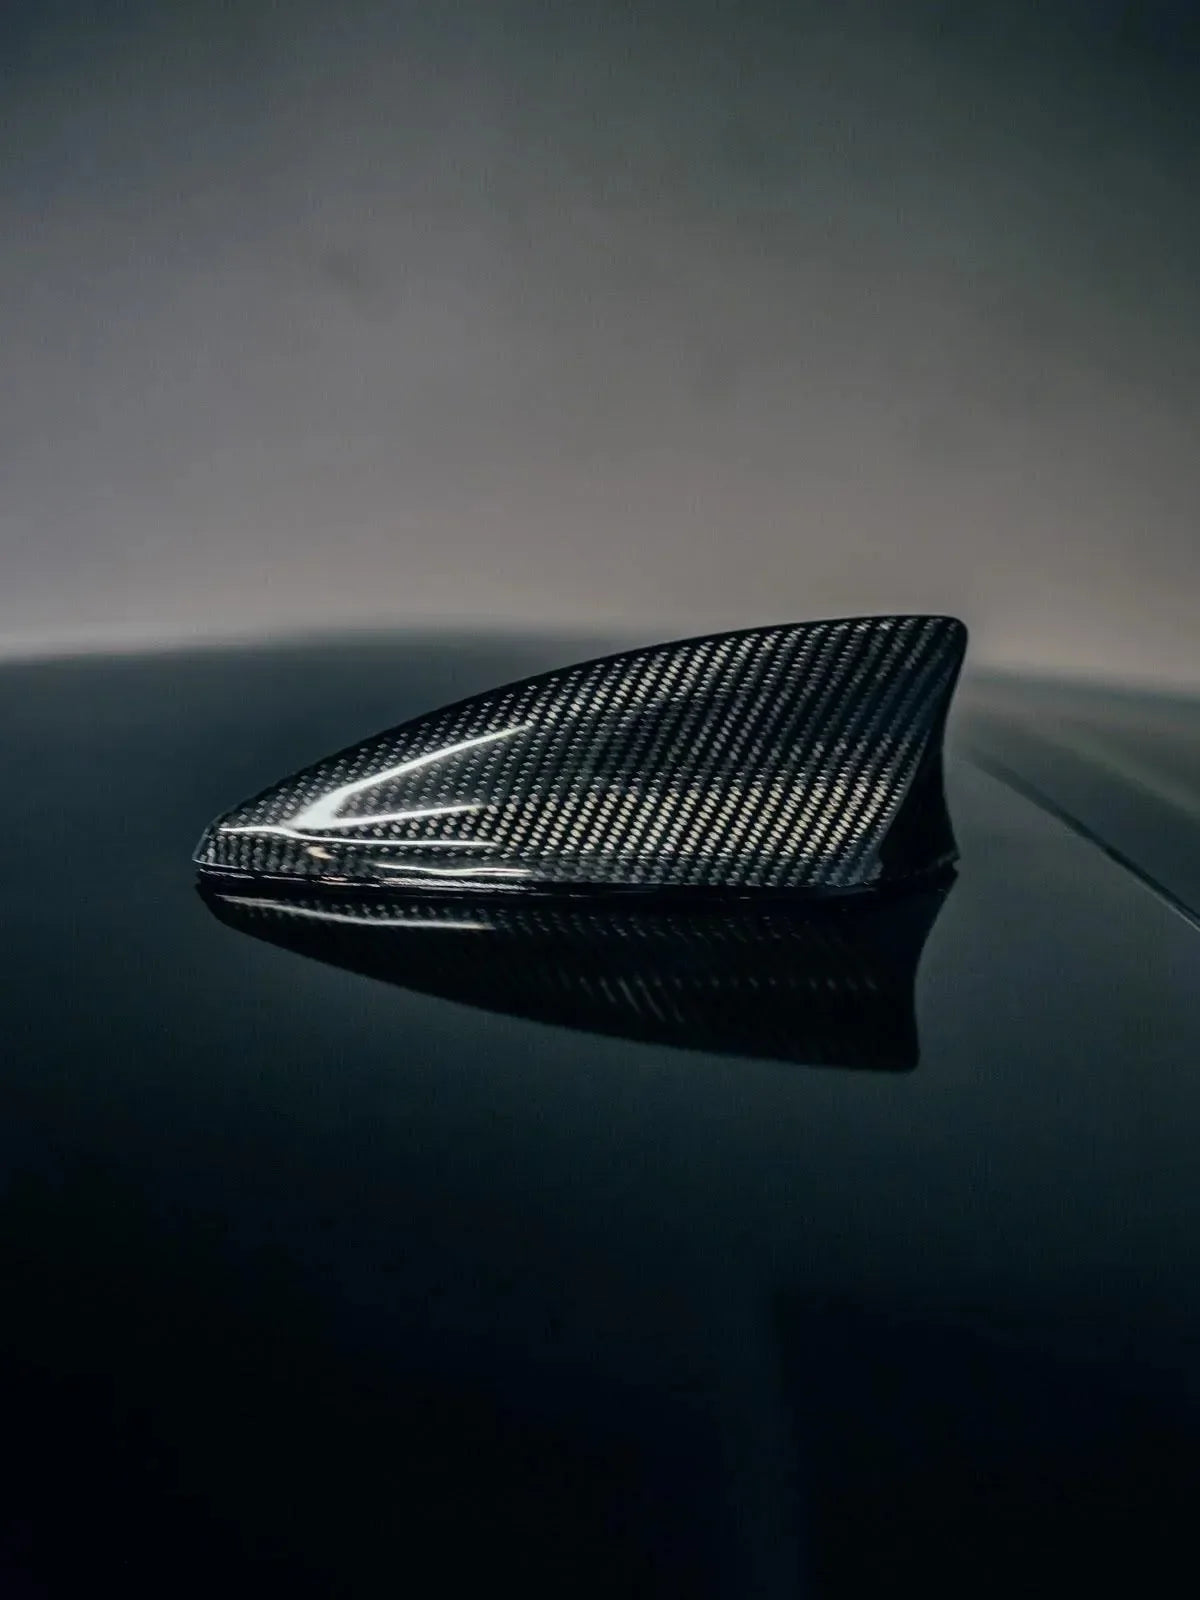
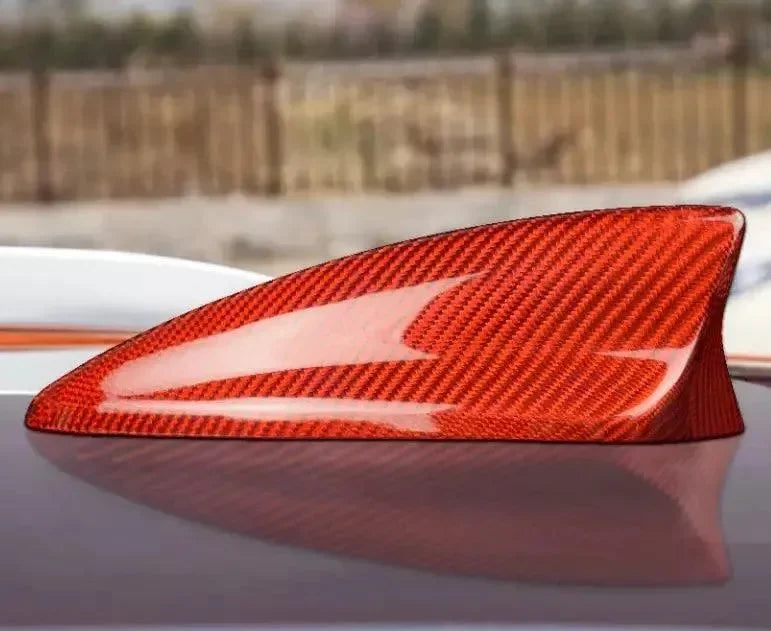
2016-2024 Camaro Carbon Fiber Shark Fin Antenna Cover

Save $31.00
carbonaddonsSKU: A4S4L5-B4

Price:
Sale price$99.00 USD Regular price$130.00 USD
Stock:
In stock

Description

Note: Does not fit 2016+ Convertibles. For 2020+ model antenna with built in rear view camera, you can purchase your compatible carbon fiber antenna cover here.

Modern engineering calls for modern design. Get your Carbon Addons 2016+ Camaro Carbon Exterior upgrade today!

This carbon fiber Exterior Shark Fin Antenna Cover is made using real carbon fiber with a glossy finish.

This item is designed to upgrade the look of your 6th Gen Chevrolet Camaro Exterior. It is NOT a replacement part, this is a hard molded carbon fiber cover that goes directly on top of your Shark Fin Antenna which means it can be installed within minutes without professional installer required.

Specification:
Condition: 100% Brand New
Item Type: Hard Carbon Fiber cover
Material: Real Carbon Fiber
Color: As shown in picture

Compatibility:
2016 Chevrolet Camaro Coupe
2017 Chevrolet Camaro Coupe
2018 Chevrolet Camaro Coupe
2019 Chevrolet Camaro Coupe
2020 Chevrolet Camaro Coupe (without built in camera)
2021 Chevrolet Camaro Coupe (without built in camera)
2022 Chevrolet Camaro Coupe (without built in camera)
2023 Chevrolet Camaro Coupe (without built in camera)
2024 Chevrolet Camaro Coupe (without built in camera)

Package List:
-1pc Shark Fin Antenna Carbon Fiber Cover.

Disclaimer: Might interfere with radio signal while using satellite radio. Apple Car Play/Android Auto signal is not affected. 


Installation method:
1. [IMPORTANT] Clean the location of the installation with isopropyl/rubbing alcohol before proceeding to ensure that any grease, wax or dust etc is removed.
2. Please ensure that the product completely fits before proceeding with installation. (Note: if there are any questions or if the product does not fit properly, please contact us)
3. Remove the high strength double-sided adhesive from the back of the cover. In the case of a relatively low temperature, heat installation location, and adhesive with a hair dryer or a heat gun on low setting and maximize the effectiveness of the adhesive.
4. Carefully place the product in desired location and press down for about 1-2 minutes,
5. The installation is complete

You may also like

Recently viewed